Why Validation Rules Are a Bad User Experience
Validation Rules are the hammer of your mission to maintain data integrity in Salesforce- You can do a lot with them, but they’re not often the best tool for the job, and they’re certainly not the most user-friendly.
The ability to write code to determine if a value is acceptable is extremely powerful, but because the rule can only be executed on-save in Salesforce, it creates this awkward interaction between users and the system:
- User enters data which isn’t valid
- User tries to save the record
- Validation Rule runs and displays an error
- User finds the invalid field and corrects it
- User saves the record again
That’s not bad, except the user could have multiple errors they need to correct; errors could be displayed at the top of the page instead of on the field, meaning the user has to find the field that is incorrect, and there could be multiple levels of validation rules that get hit as the user updates data and corrects the record, causing them to continue to have to re-save the record repeatedly.
Use Proper Data Types
This one is pretty obvious, but I’ve seen before where people will ask for the ability to have a currency field, but they also want it to be able to display N/A in the field when it’s not relevant or before a user has entered a value… If this is an absolute necessity, consider whether it makes sense to keep a flag on the object to indicate if the value had been changed by a user so you can keep the data clean.
You should also consider when a picklist is a better solution than a text field. Lots of times we need reasons for why decisions were made, like why an Opportunity was closed, why a Lead was closed, why a Case closed, etc. While these reasons can be complicated, being able to categorize them into more general categories, like “Customer Lost Interest”, “Customer purchased product”, “Insufficient Funding”, etc. allow you to not only produce better reports, but they also allow you to use other features like Field Dependencies to prevent awkward situations like a “Closed Won” Opportunity with a loss reason.
Using the right Decimal configuration on currency and number fields also helps prevent situations like nonsensical values, by putting an upper bound on the numbers that can be entered. You certainly wouldn’t want a user moving too quick and marking a 2020 Honda Accord as being a $2000000.00 vehicle because they missed a decimal point!
All of these problems could be resolved via a validation rule, but if you address them by using the right field configuration, it teaches the user how to populate them before they commit to an answer. This means fewer clicks and a more intuitive system.

Field Level Security/Page Layouts
Another common use-case for Validation rules is to ensure that only certain users are able to update values in certain fields. This is typically done in-lieu of maintaining multiple page layouts. While the cause for reducing future work is noble, it creates the impression for the user that they have access to update fields they may not have access to change. This can make user access issues difficult to figure out if your validation rule messages are incomplete.
For new users, this also becomes a big problem, as a user may need to update a number of field, and overwrite a value that was set by an authorized user, only to find out that they don’t actually have access. The problem can then become bigger if that field affects other fields that they have to change, as they may need to revert those as well!
This issue tends to compound itself, because if you have a number of these rules, then you can either have a validation rule for each field, which means a LOT of rules to maintain, or you can have one big rule and be forced to place your validation error messages on the top of the page, or on a field which is only relevant to one field validation.
Another possibility is that you need different levels of access to a record depending on the user. Setting different page layouts for these different user roles allows you to go ahead and secure those fields that shouldn’t be modified for users who shouldn’t be able to modify them.
Field Dependencies
Field Dependencies are an easy way to ensure data integrity for picklist values, as they can prevent users from entering values that don’t make sense for a given object state. To use the Closed Reason example from before, you can prevent a user from entering a Closed Reason value of “Customer Lost Interest” when the Opportunity is Closed Won. You can also use this for things like Substages or Statuses to give more granularity to your Sales Lifecycle without making it impossible to read on the Opportunity page.
Another cool thing you can do, is a neat interaction between field dependencies and required fields. When a Picklist is marked as Required, a value has to be selected, right? What if there are no values available for this field?
What happens is that since no values are available, Salesforce makes the field no longer required… until there’s a value available to be entered. You can use this on something like an Opportunity Closed Reason to make it so the Closed Reason is required once an Opportunity is marked as Closed, only present the values that are relevant for Closed Lost/Closed Won, AND not have to make an explicit exception for any particular stage.
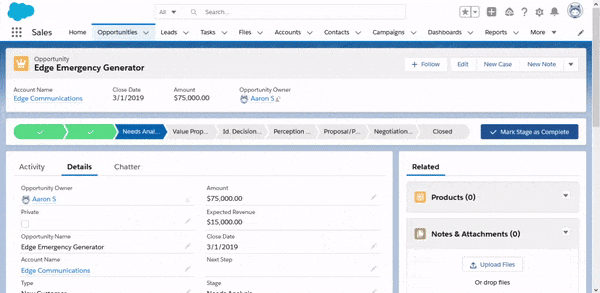
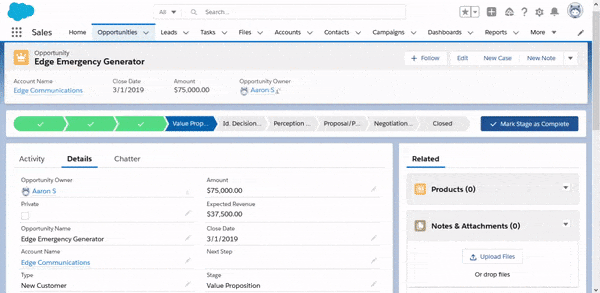
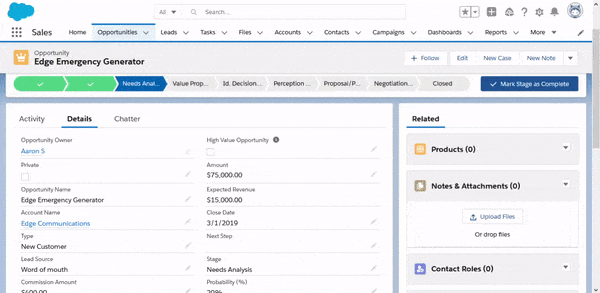
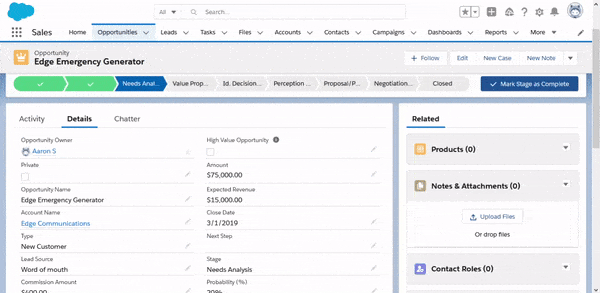
To show this off, here’s how we can require a Completed “Delivery/Installation Status” in order to close an Opportunity:
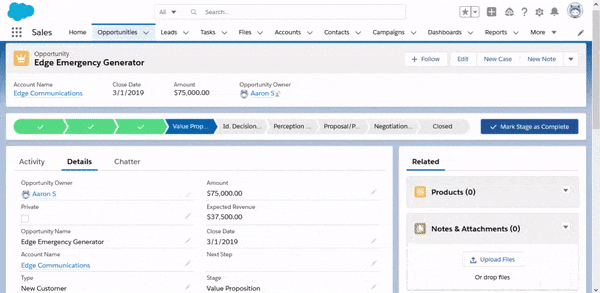
The gif above shows what this behavior looks like when we use a validation rule. The user could save a little time by updating the stage in the record edit screen, but the validation rule still takes the user out of their groove.
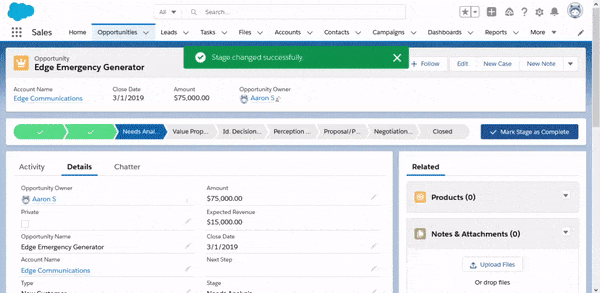
Here, we show that the Delivery Status field just becomes an additional field to enter if it’s not populated. If the user has already entered that value, they only need to confirm the value.
Record Types
This one kind of fits in with page layouts. For some reason there seems to be some opposition to creating record types. Not only does this give you a nice field to use for your field dependencies, but it also gives you a nice breakdown for things like page layouts.
Having multiple record types and likewise, page layouts helps you hide irrelevant fields from users for a given record type, resulting in less bad data, but it also allows you to conditionally automate data in places where it makes sense, and lock fields that users shouldn’t need to modify directly
Automation
Automation is an special because it helps prevent errors, not by validating data, but by using business rules to prevent users from having to enter the data at all. Strong business rules and automation allow you to take the users’ hands off the keyboards and utilize strict data types like numbers, picklists, and checkboxes to drive other field values, which may be subject to unnecessary user interpretation.
It’s kind of unnecessary to leave this change up to a user, when we could just automate it.
Help Text
The last tool at your disposal is the Help Text. Help Text serves as your inline documentation. It helps a new user understand what they’re supposed to do with a field before they’ve entered their data. It also allows you to put helpful hits right in front of the user, so they don’t need to review documentation in an external system in order to understand how to commit the record.

Help Text doesn’t really stop the user from making mistakes, but it gives the user more information to help prevent issues, and to teach them what is expected.